Practicing Headstand for Beginners at Home
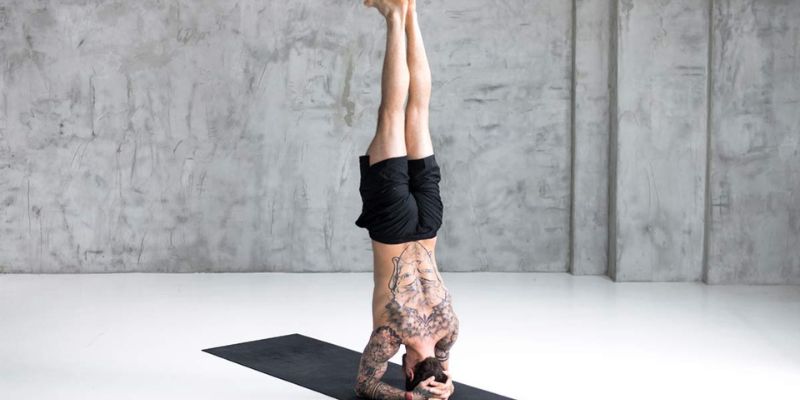
Learning how to do a headstand for beginners can be a challenging yet exciting journey. Not only does it strengthen the core, arms, and shoulders, but it also improves focus and balance. However, attempting a headstand can be challenging, especially for those who are new to yoga or have never attempted inversions before.
In this blog, we will provide an easy and step-by-step directions and advice for beginners to achieve the strength and self-assurance required to perform a headstand.
There are different yoga poses and headstand is one of the most flexible yoga positions. The body is supported by the head and forearms in an inverted stance with the legs extended straight up towards the ceiling.
While a headstand can seem discouraging at first, it is a beneficial pose that helps to increase strength, balance, and focus. So, let’s dive in and start the journey towards mastering headstand for beginners.
Benefits of Practicing Headstands
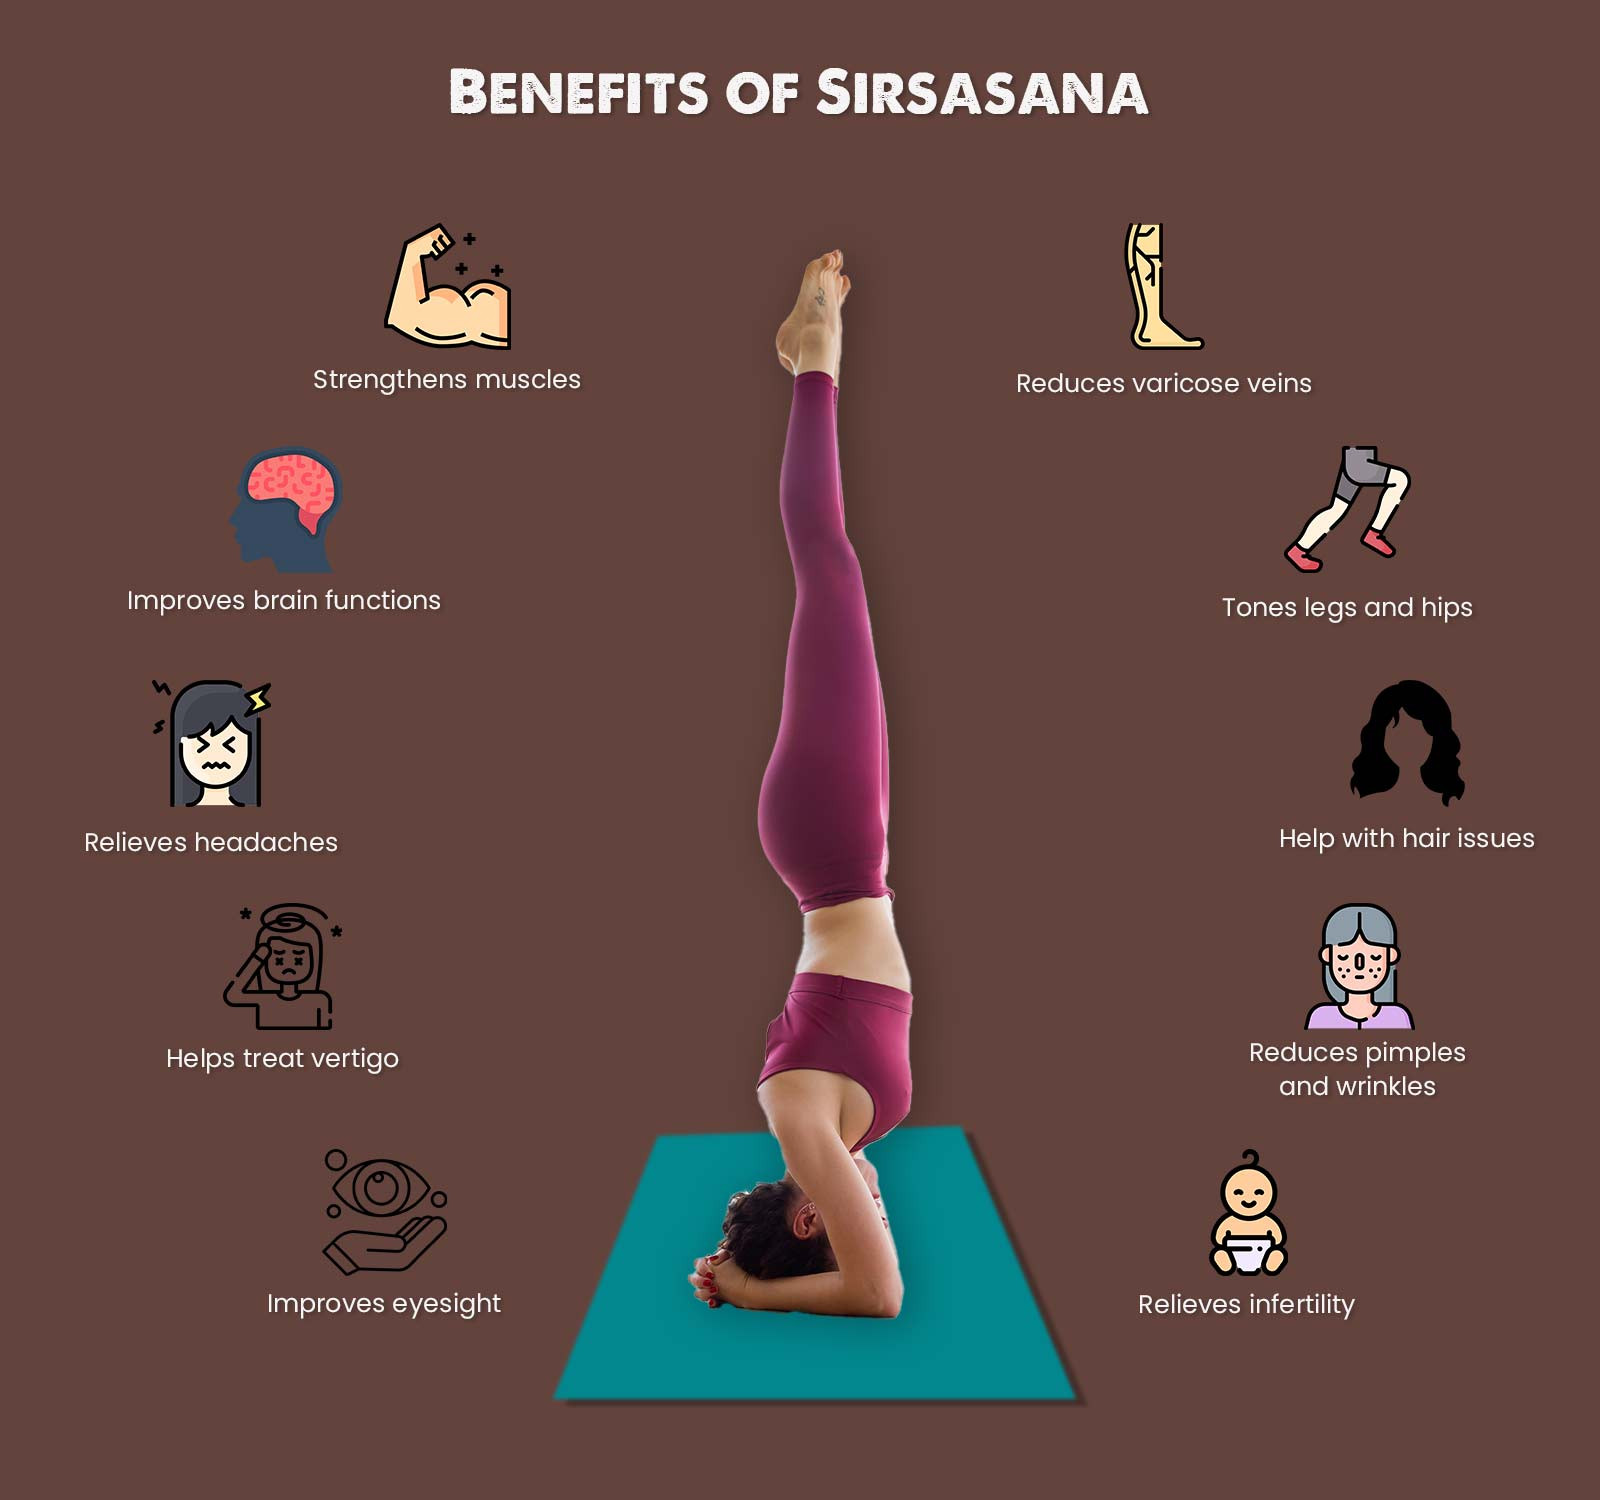
Before we dive into the details of performing a headstand, let’s explore the numerous benefits associated with this yoga pose:
- Improved Balance: Headstands challenge your equilibrium, helping you enhance your overall balance and stability.
- Increased Strength: This pose engages several muscle groups, including your core, arms, and shoulders, leading to improved strength over time.
- Better Circulation: Going upside down encourages blood flow to your brain, potentially improving cognitive function and concentration.
- Stress Reduction: Inversions, like headstands, can help reduce stress and anxiety by promoting relaxation and tranquility.
- Enhanced Spinal Health: Performing headstands can alleviate pressure on the lower back, potentially reducing back pain.
- Boosted Confidence: Mastering a headstand can be empowering and boost your self-confidence.
How to prepare for a Headstand
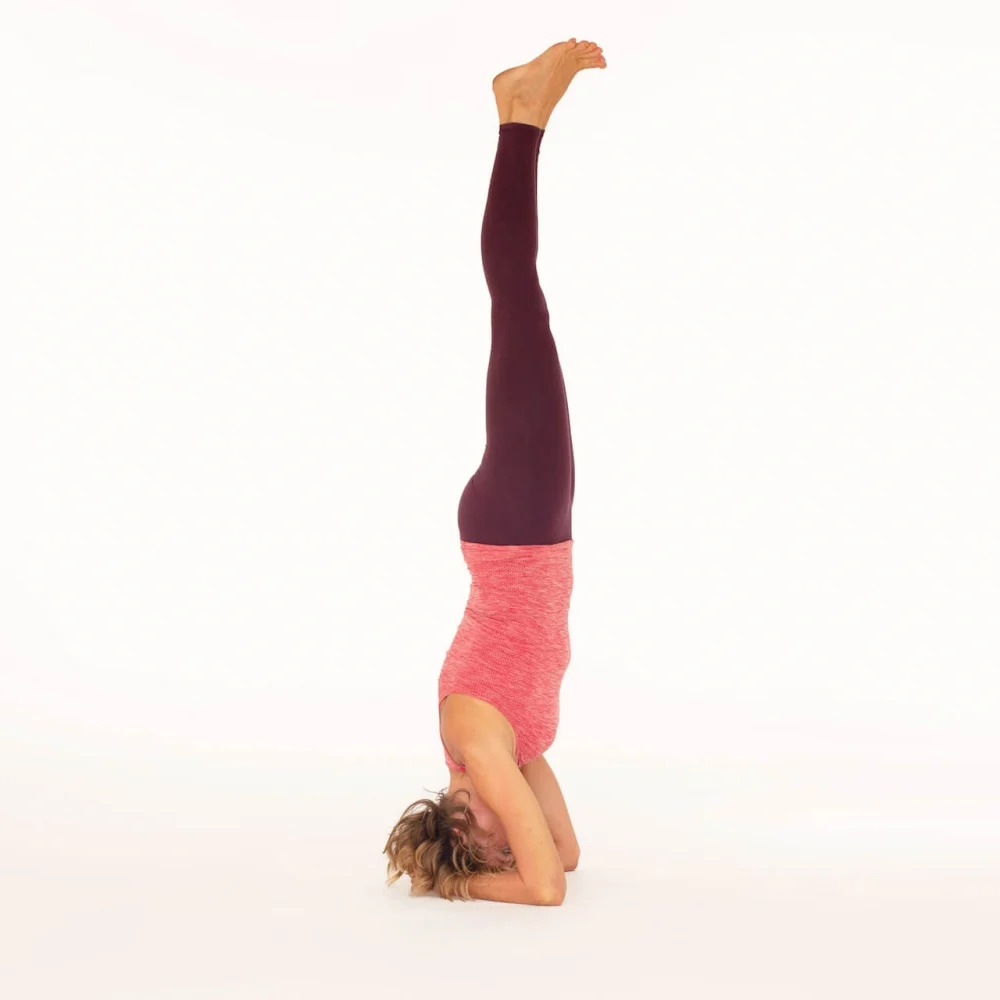
Before attempting a headstand, it’s crucial to prepare both mentally and physically. Here are some steps to get you started:
- Warm-Up: Start with a gentle warm-up, including neck, shoulder, and core stretches. This helps prevent injuries and prepares your body for the pose.
- Choose the Right Spot: Find a clear, open space in your home where you won’t bump into furniture or walls. A yoga mat or a soft surface is ideal for comfort and safety.
- Gather Equipment: You’ll need a yoga mat and a wall for support, especially if you’re a beginner.
- d. Wear Comfortable Clothing: Opt for comfortable, stretchy clothing that allows freedom of movement.
- Mental Preparation: Stay positive and patient. Remember that progress takes time, and it’s okay to make mistakes along the way.
Step-by-Step Guide: How to Do a Headstand for Beginners
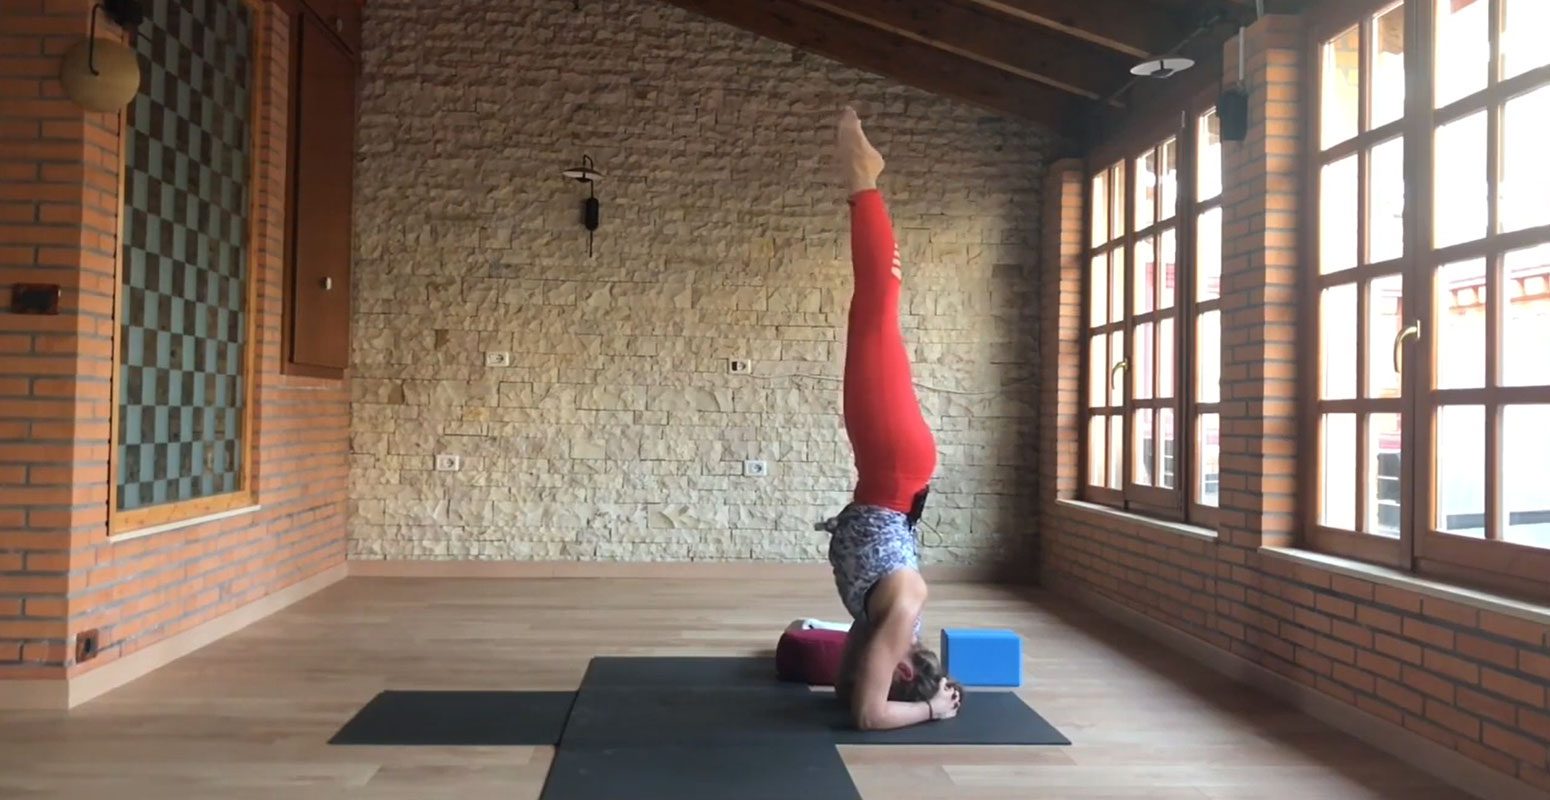
Follow the step-by-step instructions to do headstand for beginners at home safely:
Step 1: Warm-Up
Before attempting a headstand, it is essential to warm up your body and prepare it for the pose. Start with a few rounds of sun salutations or any other yoga sequence that gets your heart rate up and your blood flowing. You can also include some shoulder and neck stretches to release any tension in those areas.
Step 2: Practice Dolphin Pose

Dolphin pose is an excellent preparatory pose for headstand as it strengthens the shoulders and arms, which are crucial for supporting the weight of the body. Start by coming onto all fours and then lower your forearms to the ground, with your elbows directly under your shoulders.
Interlace your fingers and press your palms together, creating a triangle shape with your forearms. Tuck your toes under and lift your hips up towards the ceiling, coming into a downward dog-like shape on your forearms. Maintain this position for a few breaths and then let go.
Step 3: Practice Tripod Headstand
Tripod headstand is another preparatory pose for headstand that allows you to get used to the feeling of being upside down. Start by coming onto all fours and then place your head on the ground, with your forearms parallel to each other. Walk your feet towards your head, bending your knees, and lift your hips up towards the ceiling. Maintain this position for a few breaths and then let go.
Step 4: Set Up for Headstand

To set up for headstand, come onto all fours and place your forearms on the ground, with your elbows directly under your shoulders. Clasp your hands together, creating a triangle shape with your forearms. Place the top of your head on the ground, with the back of your head cradled in your hands. Walk your feet towards your head, straightening your legs as much as possible.
Step 5: Lift Your Legs
Slowly begin to lift one leg up towards the ceiling, keeping the other foot on the ground. Use your core muscles to lift your hips up towards the ceiling, bringing your other foot off the ground. If you feel unstable, you can use the wall for support, placing your feet against the wall and using it to steady yourself. Maintain this position for a few breaths and then let go.
Step 6: Come Out of the Pose
To come out of headstand, slowly lower one leg back down to the ground, followed by the other. Release your hands and come back into child’s pose, resting your forehead on the ground and taking a few deep breaths.
Safety Tips for Headstand Practice
If you’re a beginner and would like to practice headstand at home, there are a few safety measures you should keep in mind:
- Find a clear, open space: Make sure you have enough room around you to safely perform the pose without knocking into anything.
- Use a wall: Place your yoga mat against a wall and practice your headstand with your feet resting against the wall. By doing so, you can keep your balance and avoid toppling over.
- Use a spotter: If possible, ask someone to spot you while you practice your headstand. They can help guide you into the correct position and ensure your safety.
- Build up your strength: Before attempting a headstand, make sure you have built up sufficient upper body and core strength through other yoga poses such as downward dog, plank, and dolphin pose.
- Start with a supported headstand: Begin by practicing a supported headstand with your forearms on the floor and your head lightly resting on a block. This will help you build confidence and balance before attempting the full pose.
Listen to your body: If you feel any discomfort or pain while practicing headstand, come out of the pose immediately. Never force yourself into the pose or hold it for longer than you feel comfortable.
FAQ’S
Q: Is it safe to do a headstand for beginners?
A: Headstands can be challenging and require proper technique and strength. It is recommended to first learn from a qualified yoga instructor and only attempt it at home once you have built up the necessary strength and confidence.
Q: What are the benefits of doing a headstand for beginners?
A: Headstands can help to improve balance, focus, and concentration, as well as increase strength in the upper body and core muscles. They can also help to calm the mind and reduce stress.
Q: How do I prepare for a headstand?
A: Before attempting a headstand, it is important to warm up the body with some gentle yoga poses, such as downward dog and cat-cow. It is also recommended to strengthen the shoulders and core muscles with exercises like plank pose and dolphin pose.
Q: How do I do a headstand as a beginner at home?
A: To do a headstand as a beginner, start by kneeling on the floor with your forearms on the ground in front of you. Place the crown of your head on the ground between your hands, and walk your feet in towards your body. Slowly lift your legs off the ground, keeping your core engaged and your weight evenly distributed. Hold the pose for a few breaths before coming back down to the ground.
You May Also Like:
Conclusion
In conclusion, learning how to do a headstand for beginners at home can be a challenging yet rewarding experience. It requires patience, practice, and proper form to achieve a safe and stable posture.
By following the steps outlined in this guide, beginners can gradually build their strength, flexibility, and confidence to achieve a successful headstand.
Remember to prioritize safety and listen to your body throughout the process, and seek guidance from a qualified yoga teacher if needed.
With consistent practice and dedication, anyone can master this empowering yoga pose and enjoy its physical and mental benefits.
Namaste!
