Making a Yoga Bolster at Home
Yoga bolster is a necessary tool for anyone who practices yoga, meditation, or other forms of exercises. They can help you get deeper stretches, support your body while you’re sitting or lying down, and they can also make you stand up straighter.
However, yoga bolsters that are sold commercially can be expensive and frequently fall short of consumers’ expectations. Fortunately, it is easy to make yoga bolster at home.
Yoga props such as yoga wheels, yoga straps, bolsters, etc. can be used to make poses more accessible and easeful.
In this guide, we will walk you through the easy step-by-step instructions on how to make yoga bolster at home, from selecting the right materials to sewing it together.
Whether you’re a seasoned yogi or a crafty beginner, get ready to create a personalized yoga bolster that will elevate your practice to a whole new level of comfort and support.
Let’s get started!
Gathering Your Materials to make Yoga Bolster
To make your own yoga bolster, you will need the following materials:
- Fabric: Choose a strong, heavy weight fabric such as canvas or duck cloth. You will need enough fabric to make a cylindrical shape that measures approximately 24 inches long and 10 inches in diameter.
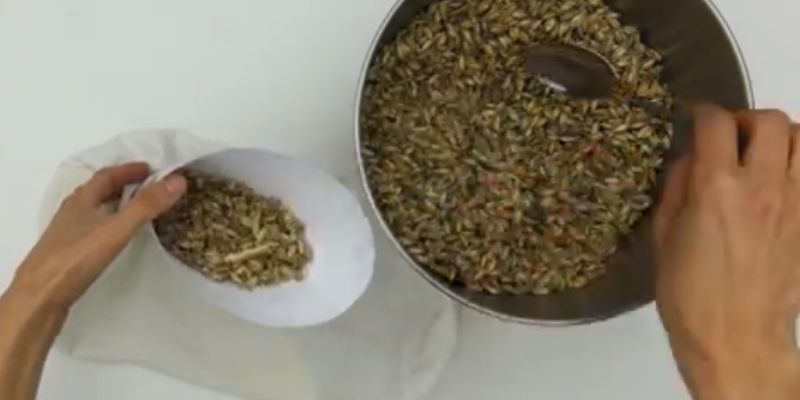
- Filling: You can use any filling that will compress over time and offer support. Some popular options include buckwheat hulls, cotton batting, or foam. You will need enough filling to fill the cylindrical shape of your fabric.
- Thread: Choose a strong, durable thread that matches the color of your fabric.
- Sewing machine: You can hand-sew your yoga bolster, but a sewing machine will make the process much faster and easier.
- Scissors: You’ll need a pair of sharp scissors to cut your fabric and thread.
- Pins: Utilise pins to secure your fabric while sewing.
Instructions to make your Yoga Bolster
Follow the below instructions carefully to make yoga bolster at home easily:
Cut Your Fabric
Begin by cutting your fabric into two rectangular pieces that measure approximately 27 inches by 12 inches. These will be the top and bottom of your bolster. Then, cut a long strip of fabric that measures approximately 76 inches by 10 inches. This will be the main body of your bolster.

Sew the Long Strip of Fabric
Fold the long strip of fabric in half lengthwise, with the right sides facing each other. Pin the edges together and sew a seam along the length of the fabric, leaving a seam allowance of about 1/2 inch. This will create a long tube.

Sew the Top and Bottom Pieces
Fold one of the rectangular pieces of fabric in half lengthwise, with the right sides facing each other. Pin the edges together and sew a seam along the length of the fabric, leaving a seam allowance of about 1/2 inch. Repeat with the other rectangular piece of fabric.
Sew the Tube to the Top and Bottom Pieces
Pin one of the rectangular pieces to one end of the tube, with the right sides facing each other. Sew a seam along the edge, leaving a seam allowance of about 1/2 inch. Repeat with the other rectangular piece, so that both ends of the tube are now attached to a rectangular piece of fabric.
Stuff Your Bolster
Turn your bolster right-side out and begin filling it with your chosen filling. If using buckwheat hulls, you may want to fill a few inches at a time and then tamp them down with your hands or a blunt object to ensure an even distribution. If using cotton batting, you can stuff the bolster more loosely. Fill the bolster to your desired firmness.
Close the End of Your Bolster
Once your bolster is fully stuffed, fold the raw edges of the fabric inwards and pin them closed. Use your sewing machine to sew a seam along the edge, leaving a seam allowance of about 1/2 inch.
Finish Your Bolster
Trim any excess thread and fluff your bolster to distribute the filling evenly. You can now utilize your finished DIY yoga bolster.
Caring for Your Homemade Yoga Bolster
To ensure the longevity of your DIY yoga bolster, proper care is essential. Here are some tips:
- Spot clean: If your bolster gets dirty, spot clean it with a damp cloth and mild detergent.
- Remove the cover: If you’ve used a zipper, remove the cover and wash it separately according to the fabric care instructions.
- Sunshine refresh: Occasionally, place your bolster in the sun to freshen it up and eliminate odors.
- Store it well: When not in use, store your yoga bolster in a dry, cool place away from direct sunlight.
Tips and Tricks
By offering support and assisting you in going deeper into your stretches, using a yoga bolster can significantly improve your yoga practice. Here are some tips and tricks for using a yoga bolster:
1. Use it for seated poses
A bolster can help elevate your hips and make it more comfortable to sit in cross-legged or lotus position and other yoga poses. Place the bolster underneath your sit bones to lift your hips and create a more stable base for your spine.
2. Support your backbends
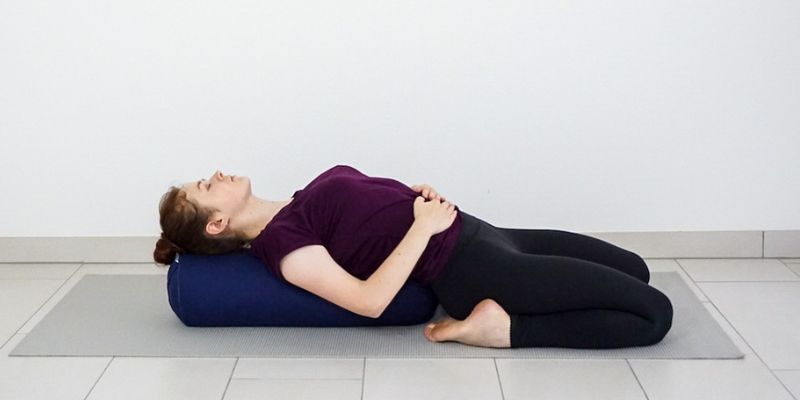
When practicing backbends, place the bolster under your shoulder blades to support your upper back and open up your chest. You can also use the bolster to support your lower back in gentle backbends like bridge pose.
3. Use it for restorative poses
Holding positions for prolonged lengths of time while using props like bolsters is common in restorative yoga poses. Try placing the bolster under your knees in legs-up-the-wall pose or under your chest in child’s pose for a deeper stretch.
4. Experiment with different shapes
Bolsters can be used in a variety of shapes to support different parts of the body. Try rolling up the bolster for a cylindrical shape to use under your knees or ankles, or folding it in half for a rectangular shape to support your back.
5. Use it for meditation
If you find it difficult to sit comfortably in meditation, use the bolster to elevate your hips and create a more stable base. You can also place the bolster behind you to support your back and shoulders in seated meditation.
FAQ’S
Q: What materials do I need to make yoga bolster?
A: You will need fabric, thread, a sewing machine or needle and thread, scissors, stuffing such as cotton batting, buckwheat hulls, or foam, and a zipper if you want a removable cover.
Q: What type of fabric should I use for my yoga bolster?
A: You can use a durable cotton or linen fabric that is strong enough to withstand the weight of the stuffing and the pressure of use.
Q: How much stuffing do I need for my yoga bolster?
A: The amount of stuffing you need will depend on the size of your bolster. As a general rule, you’ll need between 5 and 10 pounds of stuffing.
Q: How do I make a pattern for my yoga bolster?
A: You can either create your own pattern or find a free pattern online. Some popular shapes for yoga bolsters include round, rectangular, and cylindrical.
You May Also Like:
Conclusion
In conclusion, make yoga bolster at home is an excellent way to personalize your practice and save money on expensive yoga props.
With a few basic materials and some sewing skills, you can create a comfortable and supportive bolster that will enhance your yoga experience.
The process may seem discourage at first, but with patience and persistence, anyone can make their own yoga bolster.
Not only is it a fun and fulfilling project, but it can also deepen your connection to your practice and inspire you to explore new postures and techniques.
So, grab your materials, roll out your mat, and enjoy the benefits of your handmade yoga bolster.


