The Ultimate Guide To Practice Screaming Toe Pose
Every portion of the body is frequently stretched and opened through yoga practice. There are different yoga poses for our Your hips, shoulders, hamstrings, and chest. What about extending your toes, ankles, and feet? In this article , We will learn The Ultimate Guide To Practice Screaming Toe Pose.
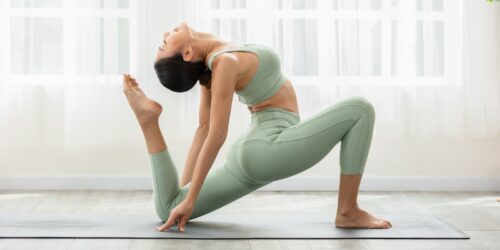
Screaming Toe Pose is a fantastic pose for relaxing the mind and releasing stress while extending the hamstrings, calves, and spine.
Yoga poses like Screaming Toe Pose and Half Monkey Pose can be challenging for both beginners and experienced people.
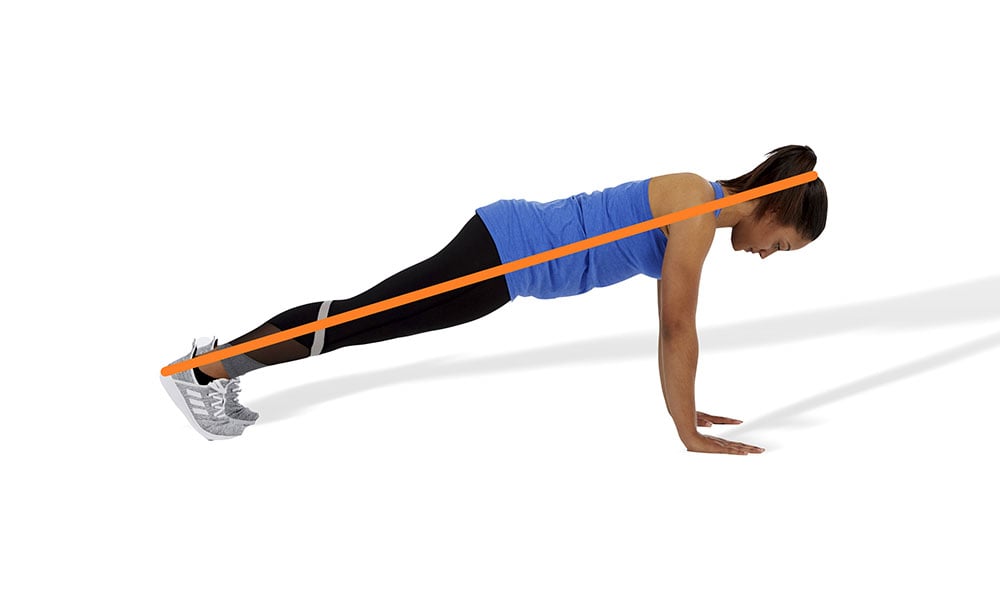
You can practice it as frequently as necessary. After a workout or in the evening following a long day are the finest times. Line up your ears, shoulders, and hips, and softly contract your abs to maintain a straight spine.
In this easy and step by step guide, we will walk you through the steps to practice Screaming Toe Pose effectively and safely.
Let’s get started!
Understanding Screaming Toe Pose
Screaming Toe Pose is a wide-legged forward bend that stretches your hamstrings, groins, and spine while also strengthening the legs and core. The pose is not only about flexibility; it’s a great way to relax and calm the mind. Before you start practicing this pose, it’s important to have a basic understanding of its benefits and what to expect.
Category
- Toe Stretch
Skill Level
- Intermediate
Benefits of Screaming Toe Pose

Screaming Toe Pose offers a wide range of benefits, including:
a. Improved Flexibility:
- This pose stretches the hamstrings, groins, and spine, enhancing flexibility.
b. Strengthened Muscles:
- It engages and strengthens the legs, core, and back.
c. Stress Relief:
- The forward bend can calm the mind and relieve stress.
d. Better Posture:
- Regular practice can lead to improved posture and reduced back pain.
e. Improved Digestion:
- The pose massages the abdominal organs, aiding digestion.
f. Enhanced Concentration:
- The focus on breathing and alignment can improve mental clarity and concentration.
Preparations and Warm-Up Exercises
Before diving into Screaming Toe Pose, it’s essential to prepare your body with proper warm-up exercises to prevent injury. You can try the following:
a. Neck Rolls:
- Stand with your feet hip-width apart.
- Slowly roll your neck in a circular motion, first clockwise and then counterclockwise.
- This helps release tension in the neck and shoulders.
b. Shoulder Rolls:
- Stand with your feet hip-width apart and arms by your sides.
- Roll your shoulders forward and then backward in a circular motion.
- This warms up the shoulder muscles.
c. Spinal Twists:
- Sit on the floor with your legs extended.
- Cross your right leg over your left, placing your right foot flat on the floor.
- Twist your torso to the right, using your left elbow to gently press against your right knee.
- Repeat on the other side.
- This exercise loosens the spine.
d. Forward Bends:
- Stand with your feet hip-width apart.
- Slowly bend forward at the hips, keeping your knees slightly bent.
- Let your upper body hang loose.
- This stretch prepares your hamstrings.
e. Wide-Legged Stance:
- Begin with your feet about 3-4 feet apart.
- Gently shift your weight from side to side, feeling the stretch in your inner thighs.
Tips for Maintaining Proper Form
To ensure you maintain the correct form while practicing Screaming Toe Pose, consider the following tips:
a. Keep Your Knees Slightly Bent:
- Don’t lock your knees; keep a slight bend to avoid straining the joints.
b. Lengthen Your Spine:
- Always aim for a straight spine rather than rounding your back.
c. Engage Your Core:
- A strong core will provide stability and prevent overstretching.
d. Use Props:
- If your hands can’t reach the floor, use yoga blocks or a prop to support your hands.
e. Focus on Your Breath:
- Deep, controlled breathing can help you relax and deepen the stretch.
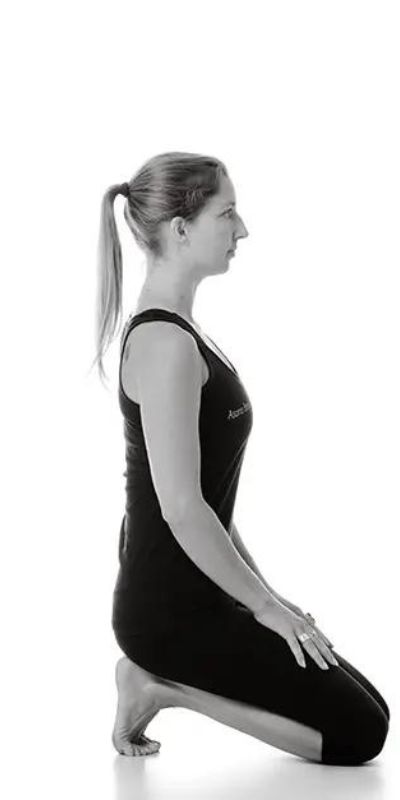
Step-by-Step Guide to Practicing Screaming Toe Pose
Now, let’s dive into the step-by-step guide to practice Screaming Toe Pose:
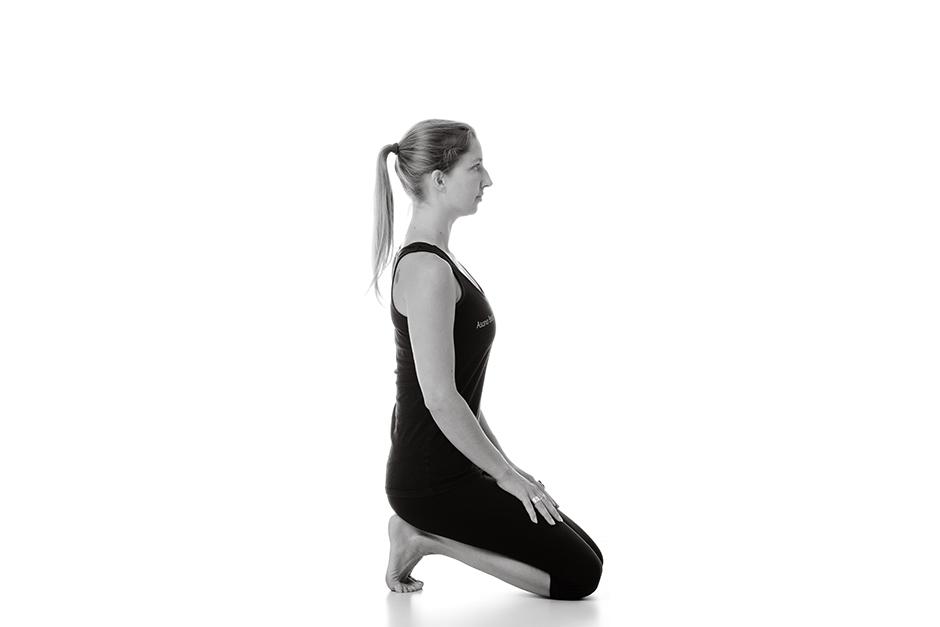
1: Find Your Stance
- Begin in a standing position at the front of your yoga mat.
- Step your feet out wide, keeping them parallel to each other.
2: Engage Your Core
- Draw your navel in towards your spine to engage your core muscles.
- Keep your spine straight and your chest open.
3: Interlace Your Fingers Behind Your Back
- Reach your arms behind your back and interlace your fingers.
- If your shoulders are tight, you can use a strap or a towel to bridge the gap between your hands.
4: Hinge at Your Hips
- Start to bend forward at your hips, keeping your back straight.
- As you fold forward, maintain the interlaced fingers behind your back.
5: Stretch Your Arms Overhead
- Lift your interlaced hands overhead, allowing your arms to extend behind your head.
6: Breathe and Hold
- Maintain this posture for 30 seconds to 1 minute while taking deep, steady breaths.
- Keep your neck relaxed and gaze softly at the floor.
7: Release Your Hands
- Slowly release your hands, bringing them back to your sides.
8: Come Back to Standing
- Inhale as you lift your torso back up, returning to a standing position.
9: Repeat or Move to Other Poses
- You can repeat the pose or transition to other yoga postures.
Common Mistakes to Avoid
As with any yoga pose, there are common mistakes that can hinder your progress and potentially cause injury. Avoid these errors:
a. Overstraining:
- Don’t push yourself too hard. Progress gradually and listen to your body.
b. Rounded Back:
- Keep your spine straight to avoid straining your lower back.
c. Locked Knees:
- Always keep a slight bend in your knees to prevent injury.
d. Holding Your Breath:
- Maintain steady, deep breaths throughout the pose to stay relaxed.
e. Forcing Hands to the Floor:
- If you can’t reach the floor, use props or modify the pose.
FAQ’S
Q. How long should I hold Screaming Toe Pose?
A: Ideally, hold the pose for 30 seconds to 1 minute. As you progress, you can extend the duration.
Q. Can anyone practice this pose, or are there limitations?
A: Most people can practice Screaming Toe Pose, but if you have severe back or leg issues, consult a yoga instructor or medical professional before attempting.
Q. What time of day is best to practice this pose?
A: Morning is often considered the best time for yoga practice as it helps kickstart your day with increased flexibility and focus.
Q. Can I practice Screaming Toe Pose during pregnancy?
A: If you are pregnant, it’s advisable to avoid deep forward bends like this one, especially in the later stages of pregnancy. Consult your healthcare provider for safe prenatal yoga alternatives.
You May Also Like:
Conclusion
The Screaming Toe Pose is a challenging pose to perfect, thus practice, patience, and body awareness are key. It can take some practice to gain the stability and skills necessary to execute this difficult yoga pose with easily because it requires flexibility, strength, and balance.
However, by following the proper steps, making the necessary adjustments and use of props, and gradually progressing at one’s own pace, practitioners can cultivate a closer relationship with their bodies, improve their physical capabilities, and benefit from the intense posture on a mental and emotional level.
Remember to listen to your body, progress at your own pace, and consult a yoga instructor or healthcare professional if you have any concerns.
Incorporate Screaming Toe Pose into your regular yoga routine, and over time, you’ll experience the physical and mental benefits it has to offer. Enjoy your yoga journey towards a healthier, more flexible, and balanced you.
Namaste!